Plank is an essential part of every yoga class, as it’s in every sun salutation. But that’s not the only reason it’s important. It’s a great way to strengthen the arms, shoulders and upper body and believe it or not, it can stretch the back as well. How you ask? Read on!
- Start on your hands and knees with shoulders over hands. Hands at least shoulder-with apart.
- Step your left foot back and then your right foot alongside with your feet hip-width apart.
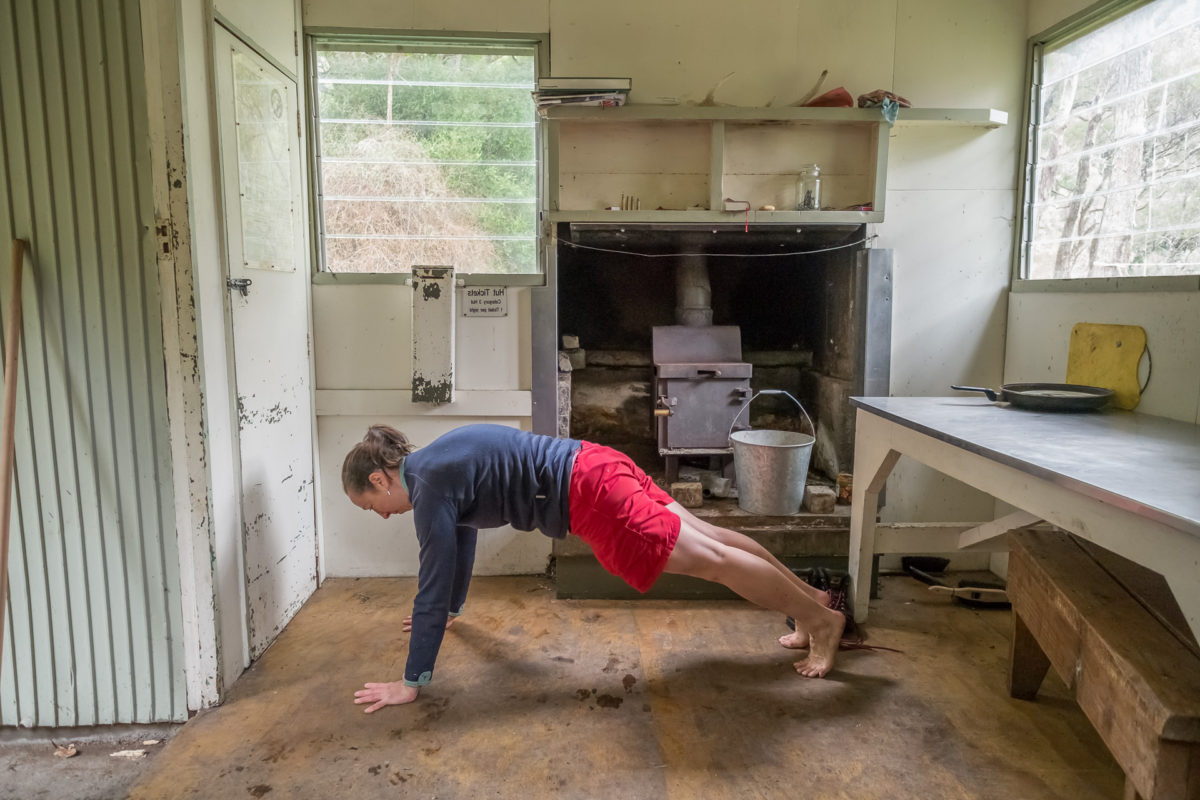
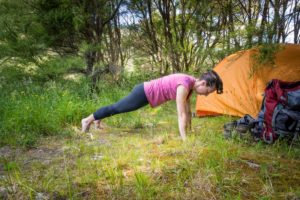
- Shoulders get tired in plank or press-ups? Notice that my upper back is pressed up, as if I’m pushing my face away from the smelly boots. This uses not only the muscles in my arms, but also my shoulder joint and the back (and that’s how you get that stretch for the back). It also protects the shoulder joint.
- Wrists get sore in plank? Stop putting all your weight in the heel of your hand. Instead, make sure your fingers are spread, index finger or middle finger pointing straight ahead. Press through your fingers and the spot on your palm at the base of the fingers, as well as the thumb and index fingers.
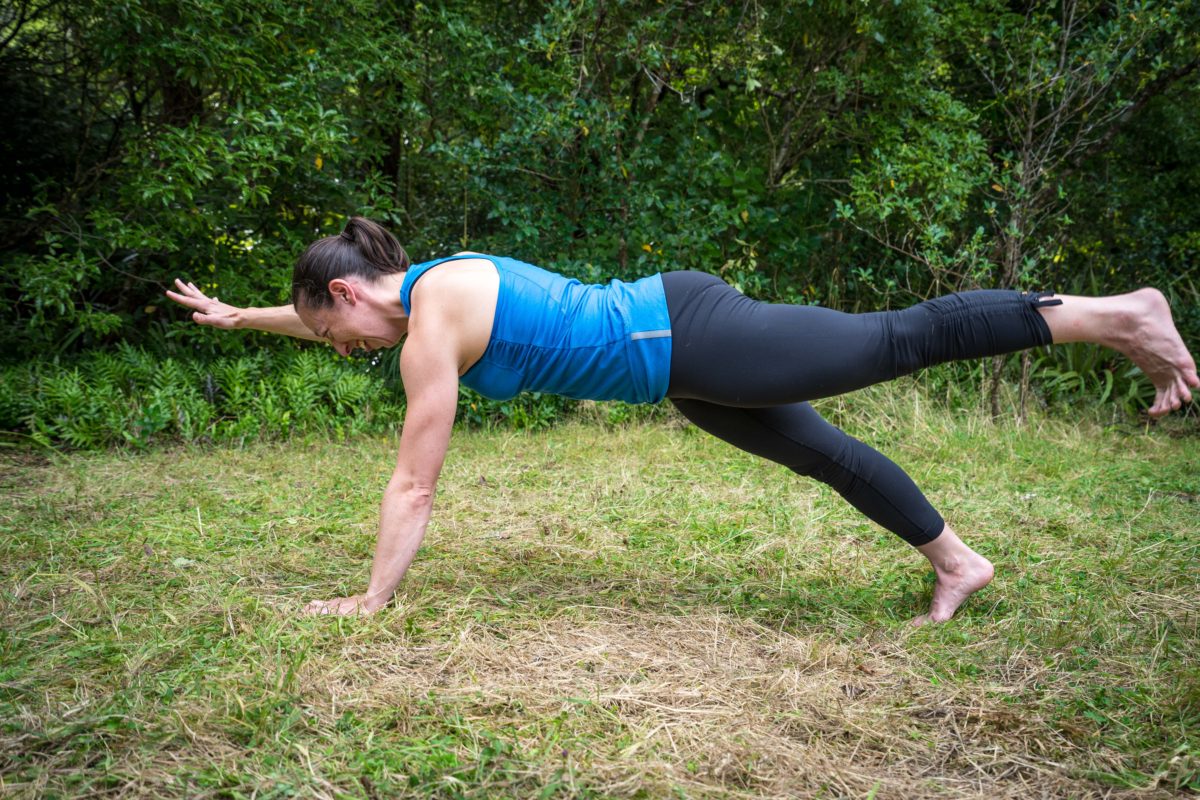
- Lower back get sore in plank or when you lower through a press-up? Squeeze your thighs towards each other – they may not touch, it’s about the muscular action in your legs and back. You should be squeezing your buttocks, thighs and entire legs. Your tailbone will slightly tip down and you will have less of an arch in your lower back. Keep that action when you lower down and up through a press-up. Did you try it? Discover a whole new set of muscles to strengthen?
The small things in plank pose