
The press-up position is known as chaturanga dandasana in yoga. In an ideal world, your elbows would be alongside your body and directly above your wrists, which would bring your shoulders forward. When you start from a plank (or the top of a press-up position) your shoulders are roughly over your wrists, but as you lower down in the press-up your shoulders and chest will come forward so that your elbow joint is bent at a 90 degree angle.
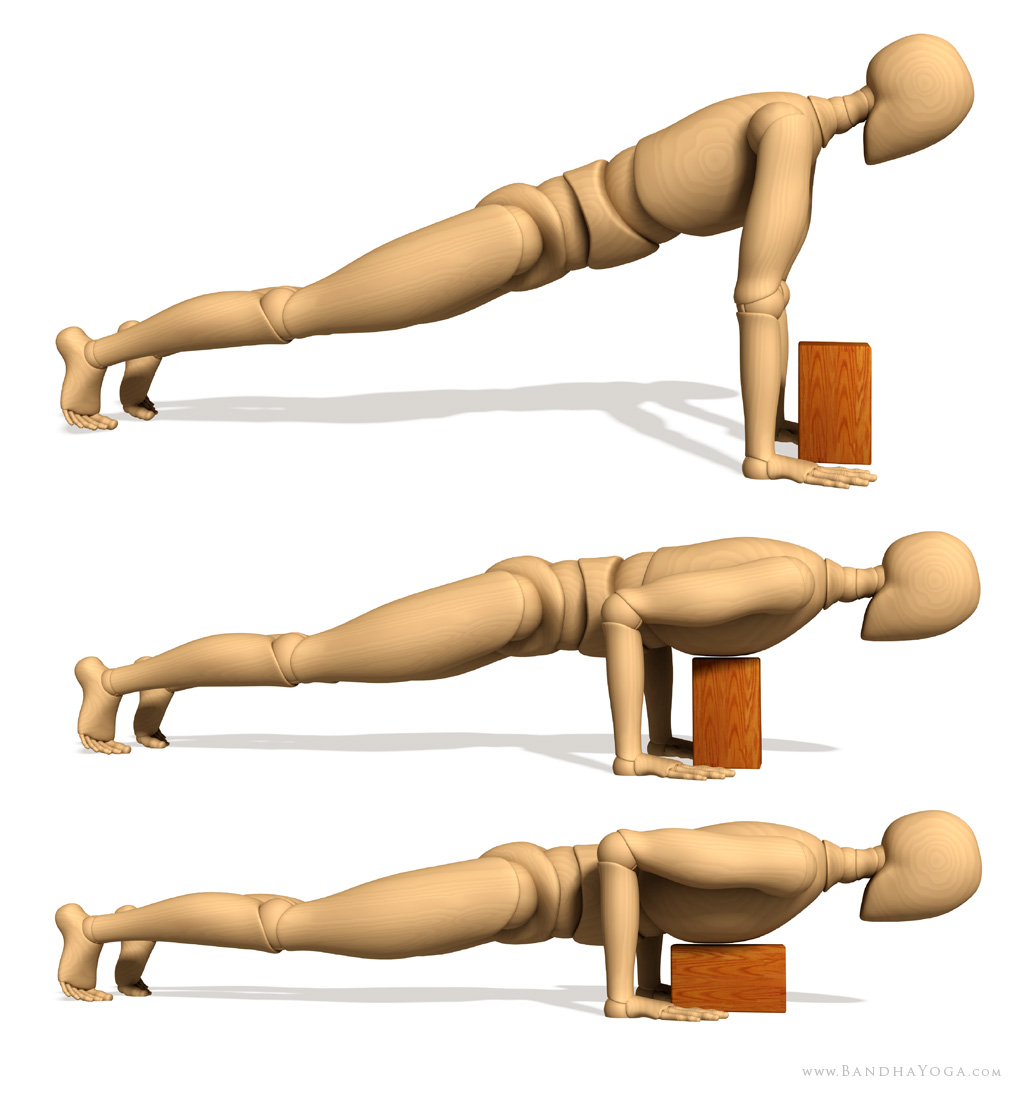
This position requires significant strength particularly in the back, chest and shoulder muscles. It also puts an incredible amount of force on the shoulder joint and wrist joint which are vulnerable to injuries – particularly with overuse.
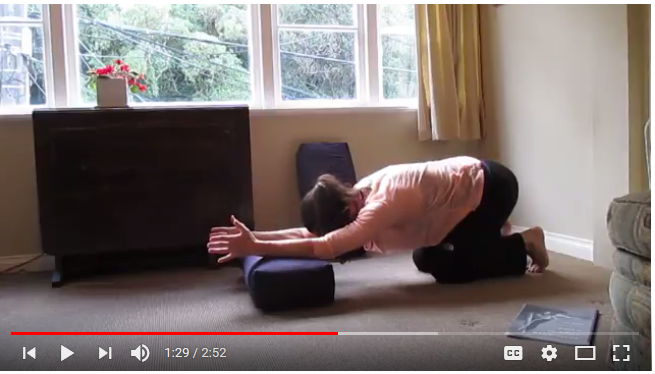
A safer way to test this position and how it feels in your body, is bringing your knees to the floor first and then try lowering slowly. Or trying this position at the wall.
Ultimately this alignment of the shoulders, elbows and wrists is like anything in yoga – there is no hard and fast rule. You should experiment with what works to you and respond to the feelings in your body.
Ultimately this alignment of the shoulders, elbows and wrists is like anything in yoga – there is no hard and fast rule. You should experiment with what works for you and respond to the feelings in your body.
Megan Sety
I personally find it too demanding on my wrists to have my elbows directly over my wrists, even with my knees on the ground – so I find a compromise.
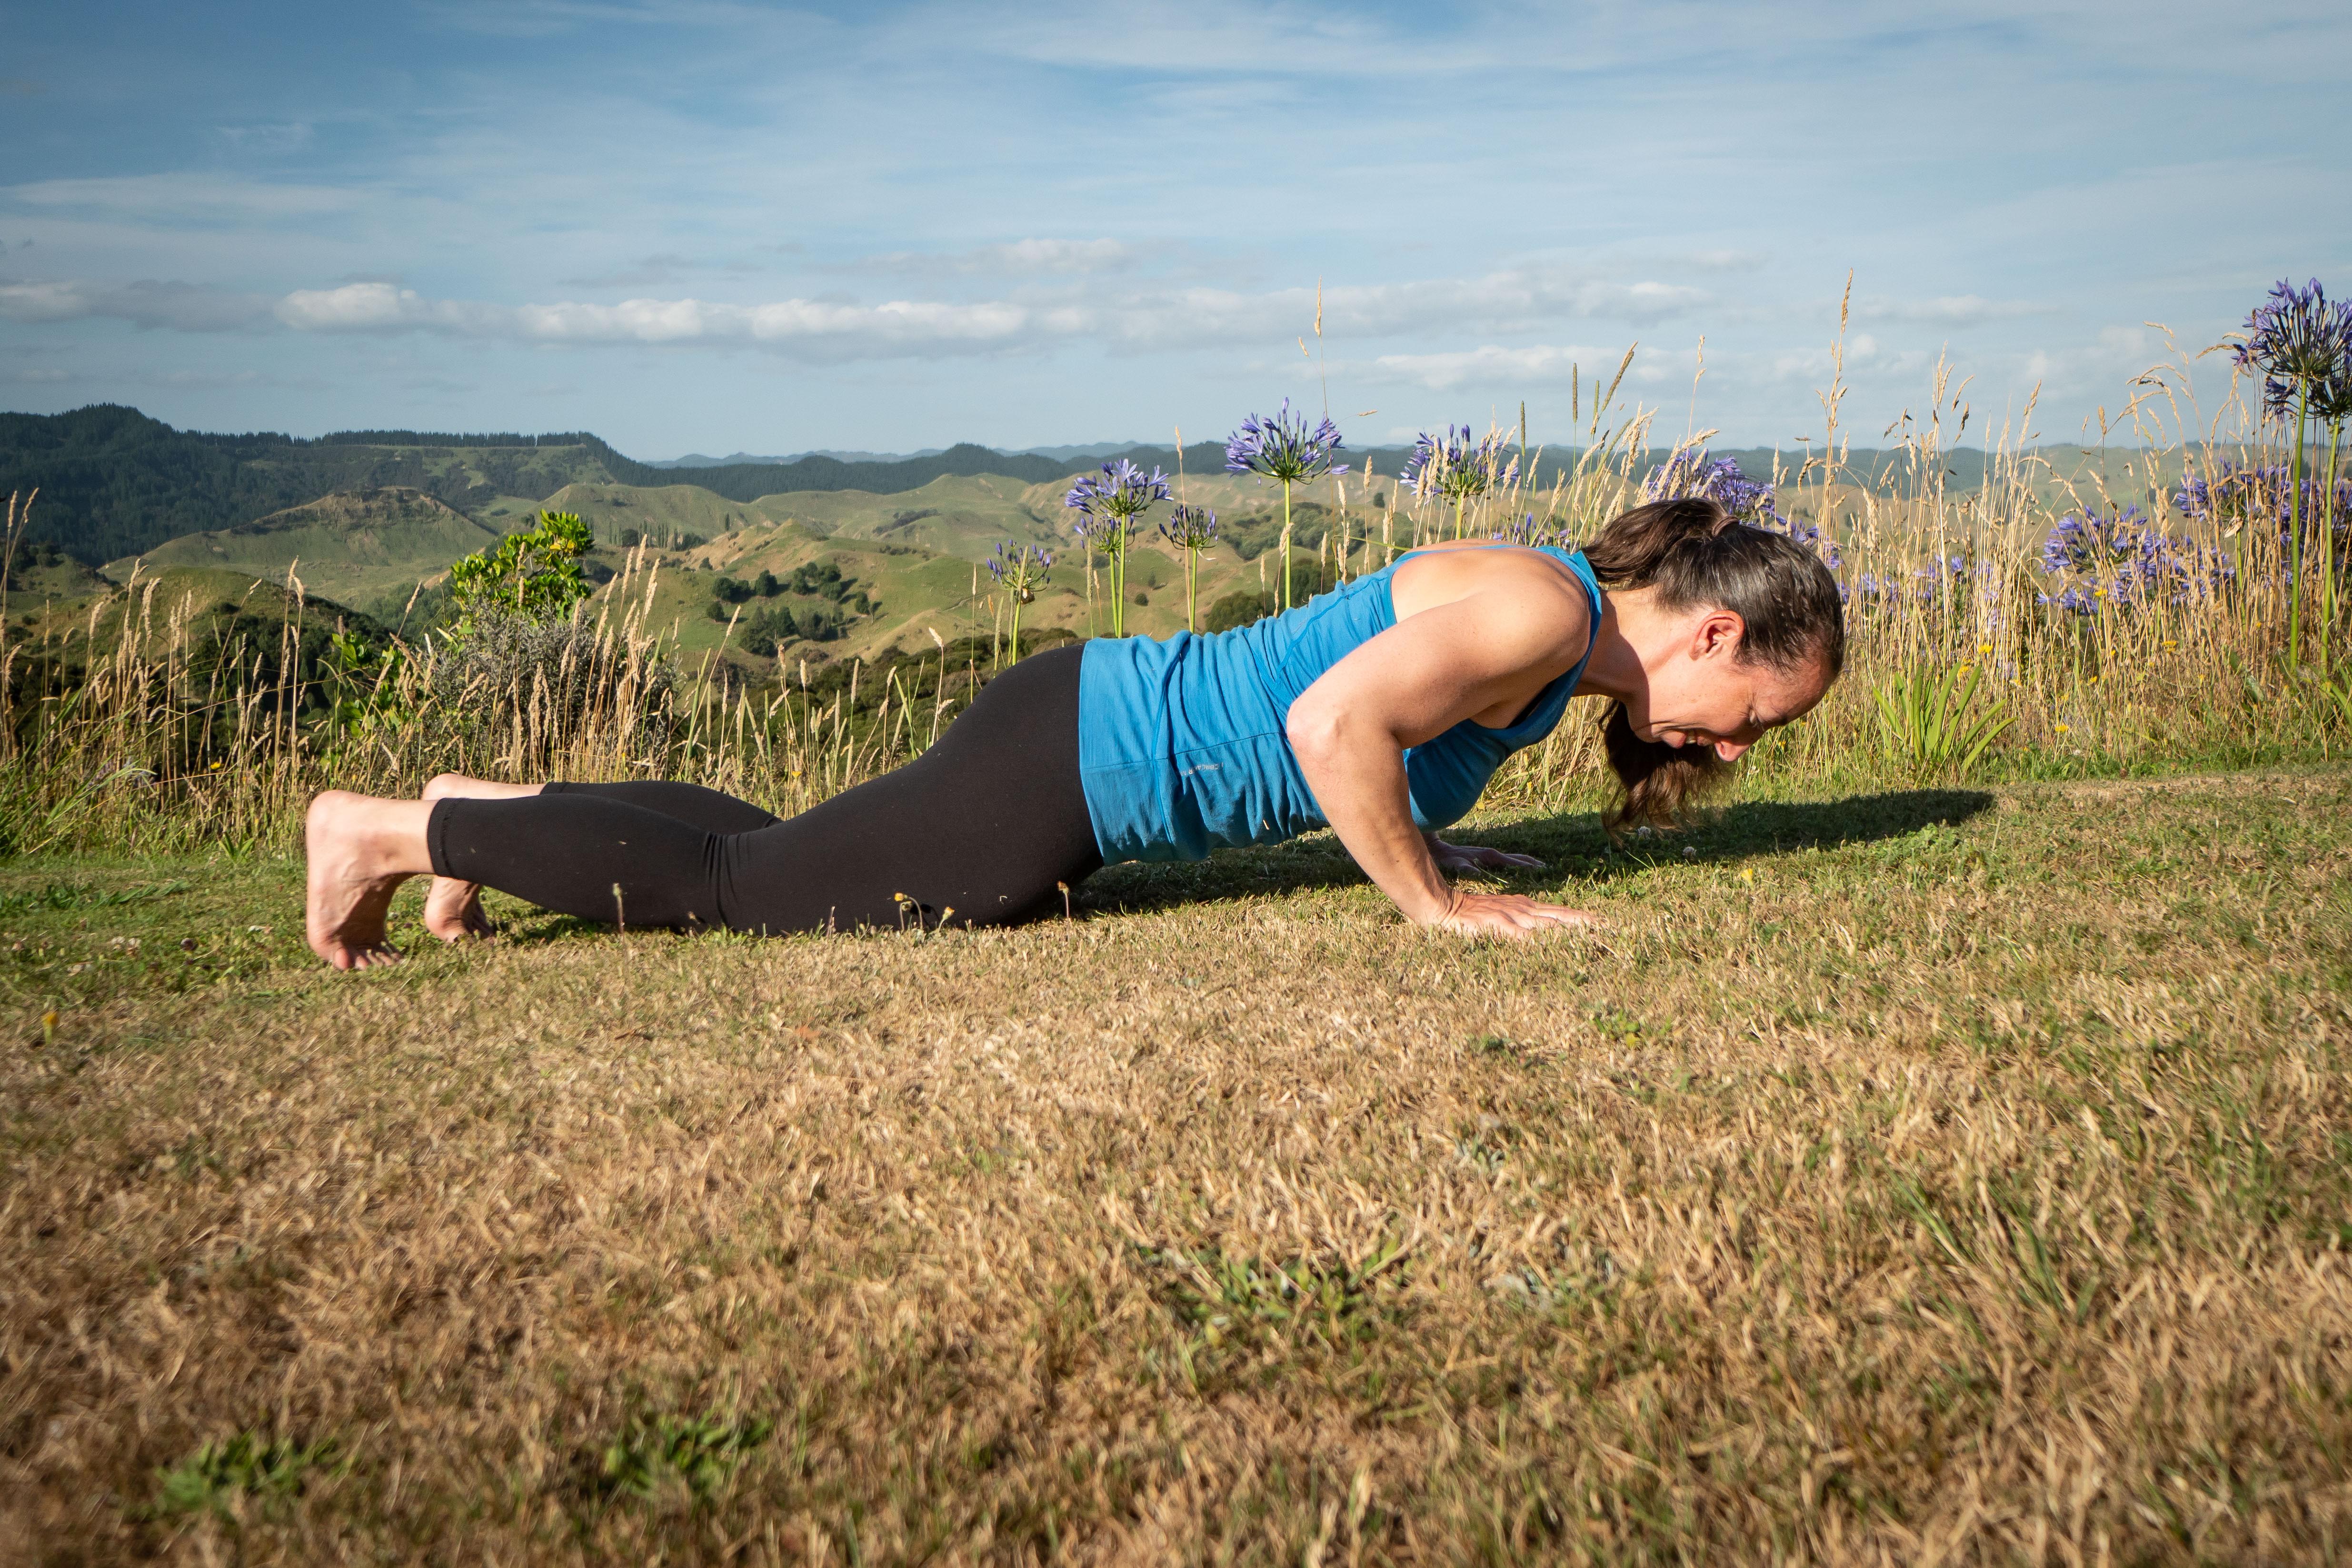
Instead of focusing on an exact position, considering these key body mechanics to help keep the shoulder joint healthy in a press-up:
- The scapula (shoulder blades) stay close to and move down the back (they don’t wing up).
- The spine/back don’t arch – the belly doesn’t drop.
- Keep the upper arm bone in the shoulder joint – shoulders don’t creep up around the ears.
When we hear these cues, we often activate the strongest muscles to do the work, but that often means other muscles aren’t working when they should. And it’s those muscles that are key to helping protecting the shoulder joint from injury.
So here are a few tips to use the range of muscles in the movement:
- Slightly wider apart hands will give your shoulders more room to rotate.
- Spread and press through your fingers – slightly gripping the floor, with a little more pressure in the thumb side – this protects the wrist and ultimately elbow and activates several fine muscles in the arms and hands.
- Don’t worry about your elbows. Letting your elbows be a little bit wider makes it easier for your scapula to stay on your back and for your shoulders to stay down – this is far more important than hugging your elbows against your sides.
- Don’t worry how far forward your shoulders are, just try progressively coming forward and watch for discomfort or pain in your wrists – don’t continue further forward if you feel pain.
- Before you lower from plank, press up through your upper back and gently squeeze your thighs together and squeeze your buttocks. This will help activate muscles of the core and upper back. Try to keep the muscle action even as you lower.
- Slightly tighten the armpits to help activate muscles in the chest, side of the body and back.
Explore these ideas a little further with these tips from Yoga Synergy on arm position for arm balance poses in yoga.