Plough pose (of if you are in the US, plow pose) is a yoga pose inversion known as halasana. In yoga an inversion typically refers to inverting the body or a position where the head is lower than the heart.

Plough pose is an advanced pose. In requires flexibility in the hamstrings, hips, shoulder and spine. In addition, in the full version, the cervical spine is placed into extreme flexion and body weight can be transferred to the upper body and neck when they are in a vulnerable position. I’ve written before about why I avoid these types of poses in my yoga classes and plough pose is no exception.
But it is possible to adapt this pose and still get the benefits, both relaxing and also stretching the hips, hamstrings and back.
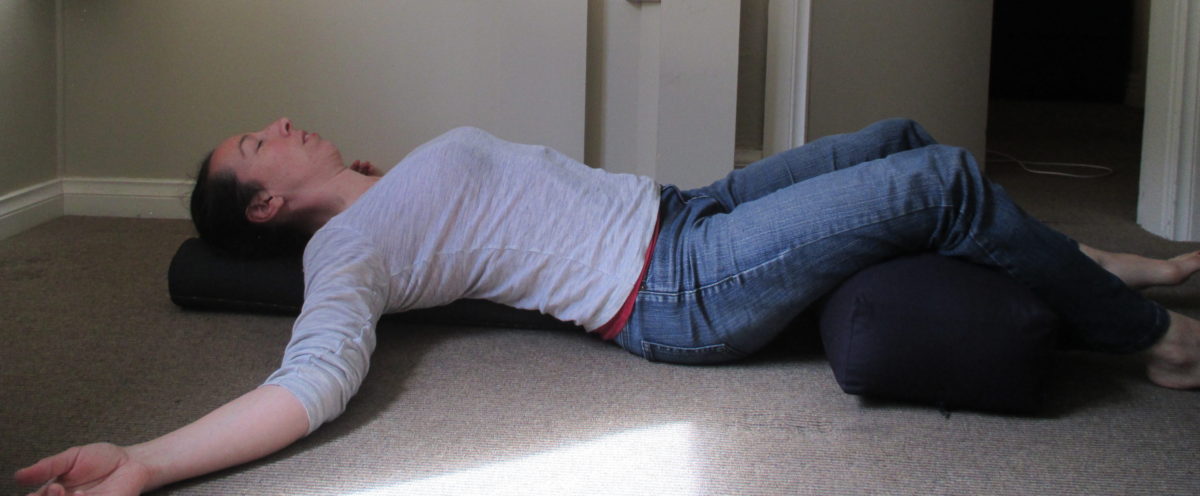
Many adaptations to this pose involve using blankets under the shoulders, but this still results in significant flexion and pressure on the neck. So this version is far more adapted and puts no pressure on the neck, allowing the neck to remain in a neutral position. In fact, it’s almost a variation of legs up the wall (viparita karani).
You should still avoid this version if you have neck injuries or spinal injuries, or have high blood pressure or are prone to migraines. And to be extra careful, avoid turning your head to the side once you move in to the position (keep looking up at the ceiling).
To do this you will need a bolster or thick pillows that will allow you to elevate your hips at least 10 to 20 centimetres off the ground.
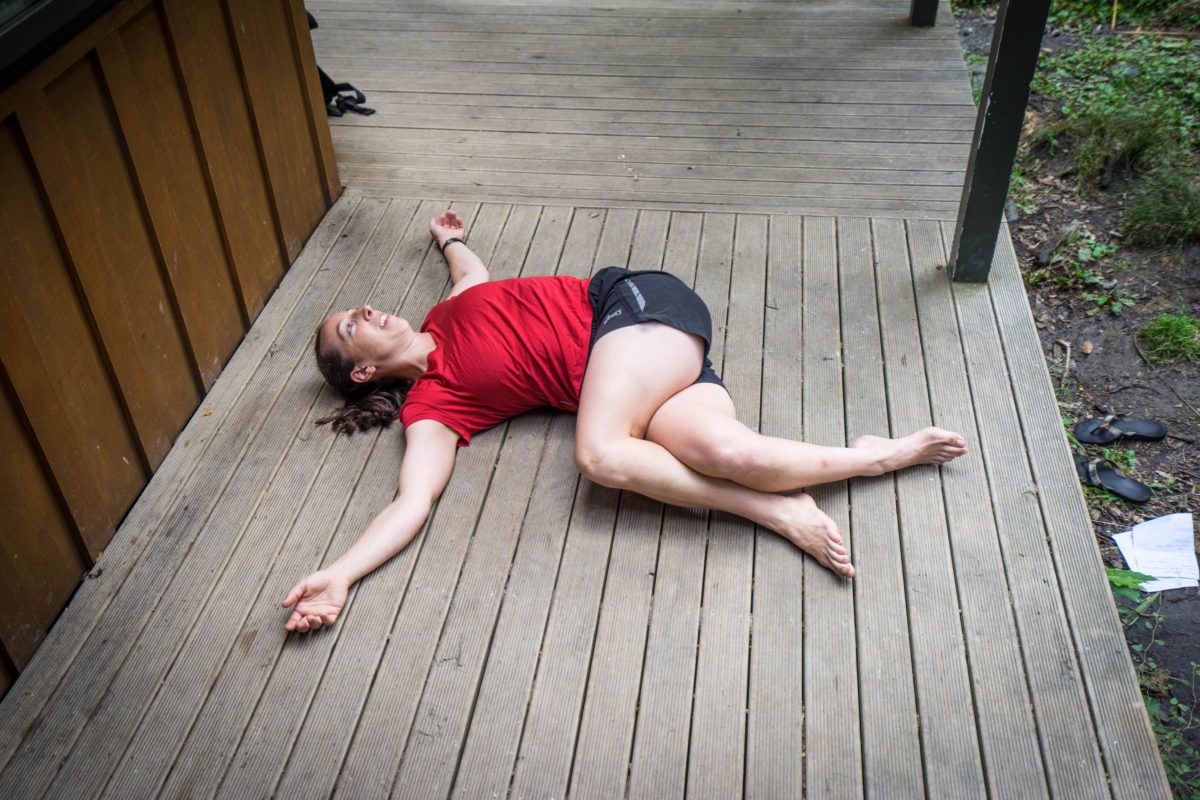
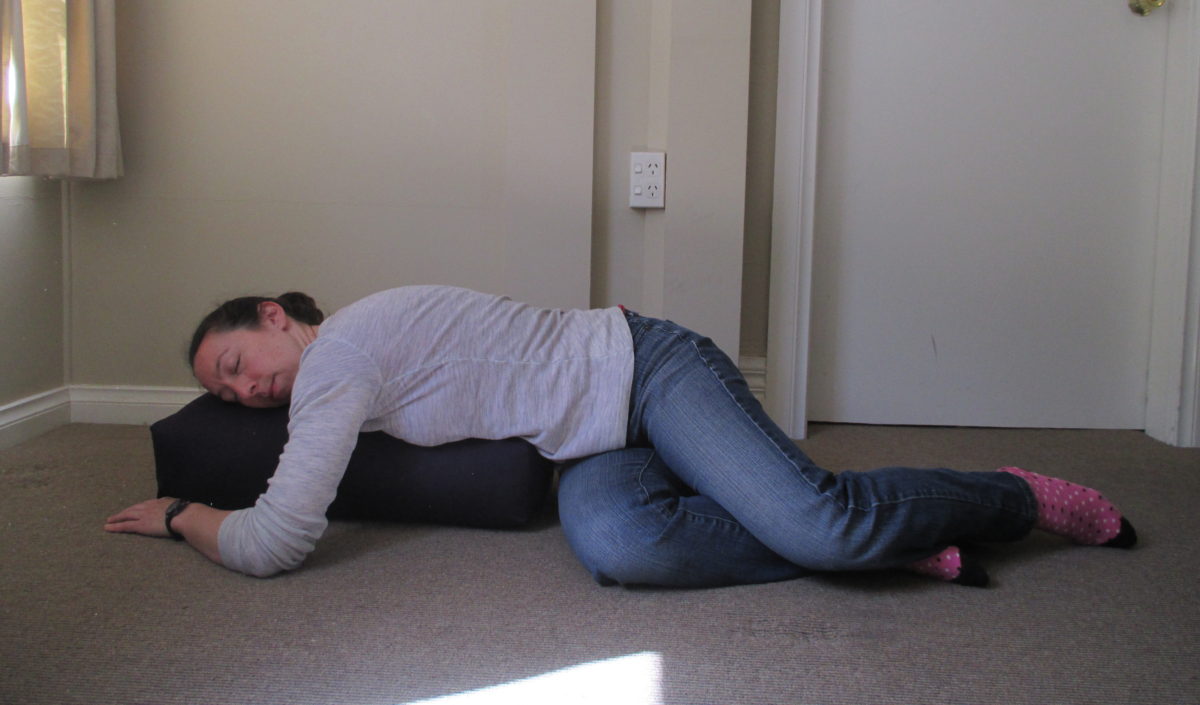
When you come out of the pose, take your time to rest on your side before sitting up slowly. Then move your spine to counter the affects of the body position – think about twisting your upper body and gently rounding and arching your spine.
Watch the brief video or see the instructions below.
- Sit on the bolster or pillows that elevate your hips about 10-20 centimetres.
- Lie back using your hands and elbows to help you lower you down to the floor. Just your buttocks/hips should be on the pillows.
- One at a time lift your feet off the floor and ease your knees towards your chest.
- You should feel as if gravity is helping you keep your feet off the floor. If you feel that gravity is pulling your feet back down, move the pillows away from your shoulders.
- You may need to adjust the pillows a little to find a spot that your hips and legs are supported, but is also comfortable for your back. There should be no pinching in your back.
- There should be no pressure on your neck and your neck should be in a neutral position. That means you should be able to put your fingers under your neck.
- Once you are comfortable, slowly move your legs towards straight. For most of us, our hips and hamstrings will be too tight to fully straighten the legs, but that’s not important – just find a gentle friendly stretch for your legs – you can flex your feet to make the stretch stronger or relax your feet to make it less intense.
- Let gravity pull your knees and shins towards you.
- From there feel free to experiment with the position of your legs. See the video for different ideas.
- To come out of the position, bend your knees and bring them more towards your chest taking the weight off your hips. Use your hands to push the pillows out from your hips and let your hips come to the floor. Take a moment here. Roll to your side and take a moment on your side. Then slowly press your way up to sitting.