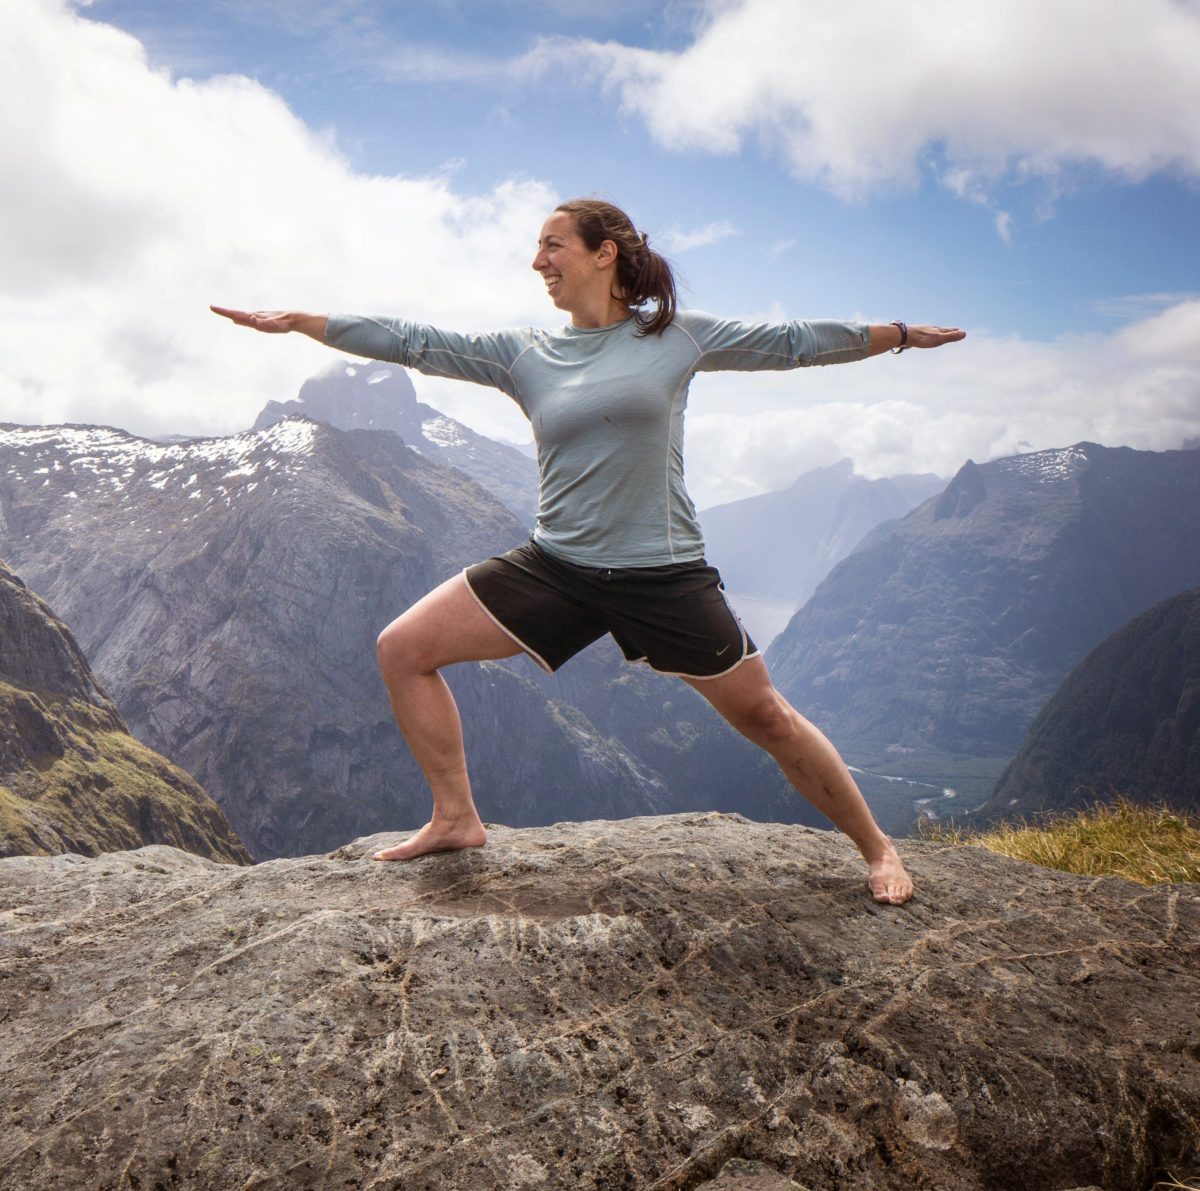
There are three warrior (Virabhadrasana) asanas or poses in yoga. I have never broken down the basics of Warrior I, or the difference with the other warrior poses.
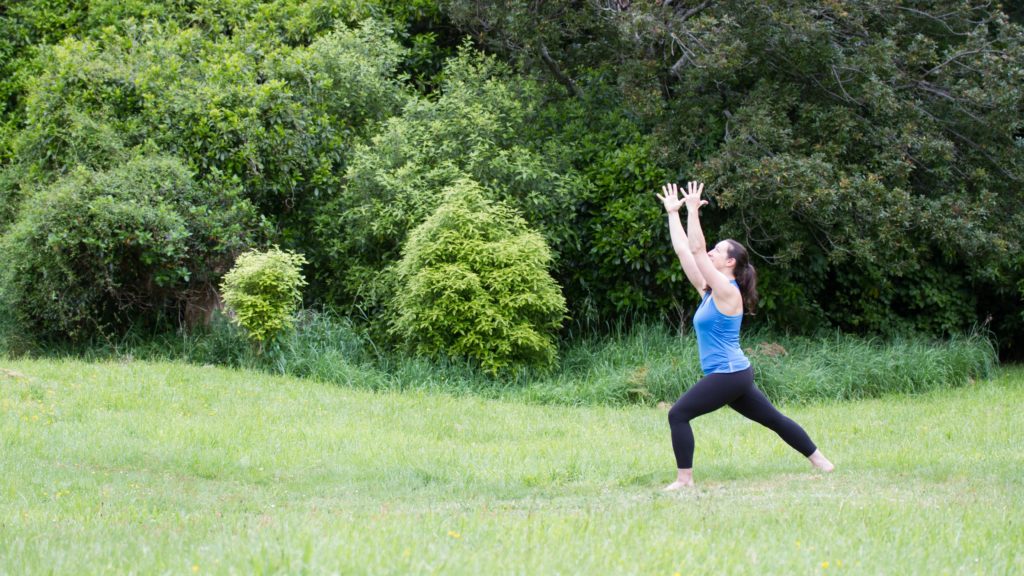
Warrior I looks a lot like a basic lunge, however the back foot is turned out slightly and flat to the ground (though you can’t see my foot in this photo). You need to turn the foot out, to be able to bring the foot flat to the floor.
Here are the basic steps for Warrior I:
- Start with your hands on your hips.
- Step back with the right foot, about the distance of your leg length. Turn your right toes out at about a 45 degree angle and bring your heel to the floor so that your foot is flat.
- Make sure your feet are on two lines, like train tracks – the distance of the two lines or train tracks should be about the distance of your hips.
- Bend the front knee and make sure your knee moves straight ahead, rather then tipping out to the left or right.
- Push down through the back foot and push your back thigh back, moving the back leg straight (but don’t lock the back knee).
- Your hips will turn slightly to the right – this is fine, normal and healthy for you hips and knees.
- Once you are here, take a moment to see if it’s comfortable for your hips, knees and back – make adjustments to feel more comfortable and steady – as if you wouldn’t fall over if someone pushed you. Would it feel better or more stable to move your back leg further back or forward. Are your feet wide enough or too narrow? What if you stand a little taller through your upper torso?
- Once you have found a comfortable stance, try reaching your arms out to your side, or take them straight over ahead – whichever is more comfortable. Pause there for a moment breathing normally. Do you you still feel comfortable and stable, or do you need to adjust your body position a little more?
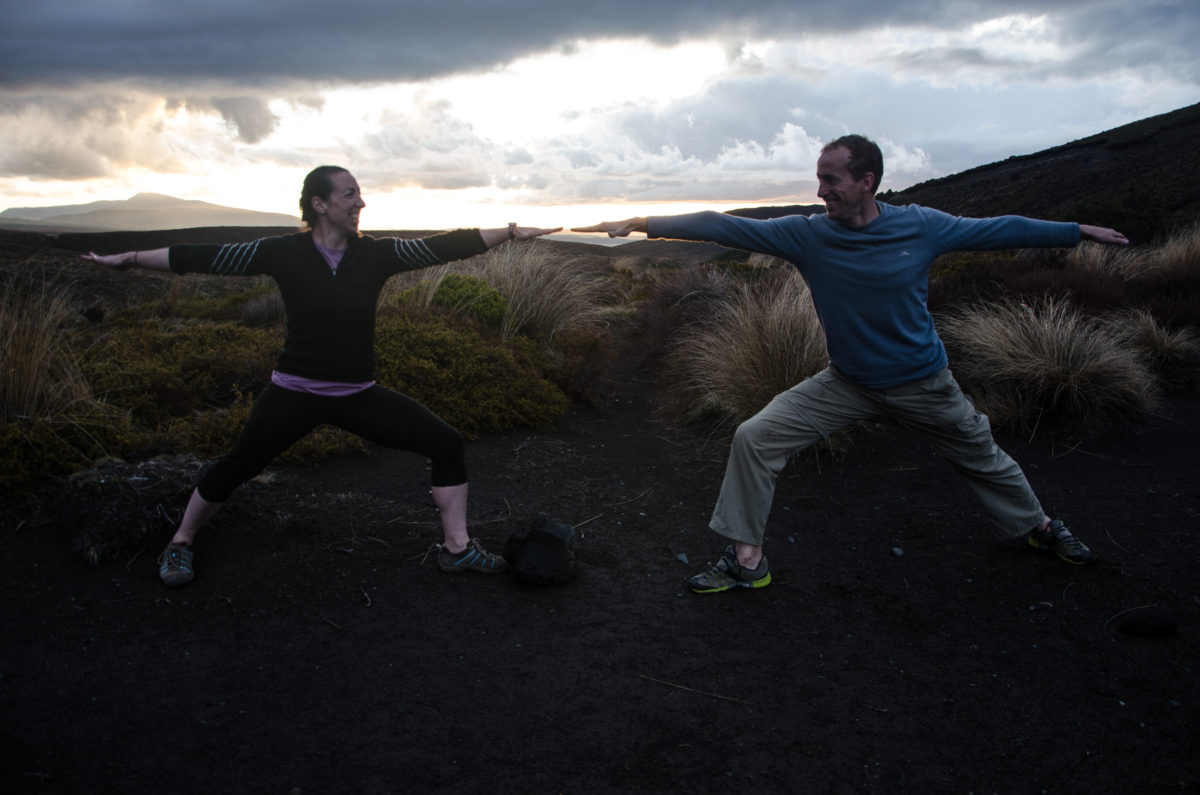
So what’s different from Warrior II or Warrior III? Well Warrior III is a one leg balance position. Warrior II can look very similar to Warrior I – the main differences in Warrior II include your back leg is further back, your hips and chest turn slightly to the side and you stretch one arm forward and one arm back. In some versions of Warrior II this pose is taught with the feet in a single line, but this position can be difficult and painful for hips and knees if you have limited flexibility or range of motion in your legs.
Next week, we’ll look at some variations with Warrior I to create different stretches in the hips, arms and back.